Installing A Desktop
A headless Ubuntu box isn't very useful if you want to use an IDE, such as
The tasksel Command
Installation of a desktop can be done via the package manager, once you figure out the proper package name, or you can use the more convenient tasksel command.
Tasksel, is a simple and easy-to-use tool developed for Debian/Ubuntu that provides users an interface to enable them to install a group of related packages such as LAMP Server, Mail Server, DNS Server, etc. as a single pre-configured task. It works comparably to meta-packages, you will find nearly all tasks in tasksel present in meta-packages.
You can list all the avaiable via tasksel --list-tasks. On my system, I get the following list:
kubuntu-live                Kubuntu live CD
lubuntu-live-gtk            Lubuntu live CD (GTK part)
ubuntu-budgie-live          Ubuntu Budgie live CD
ubuntu-live                 Ubuntu live CD
ubuntu-mate-live            Ubuntu MATE Live CD
ubuntustudio-dvd-live       Ubuntu Studio live DVD
vanilla-gnome-live          Ubuntu GNOME live CD
xubuntu-live                Xubuntu live CD
cloud-image                 Ubuntu Cloud Image (instance)
dns-server                  DNS server
kubuntu-desktop             Kubuntu desktop
kubuntu-full                Kubuntu full
lamp-server                 LAMP server
lubuntu-core                Lubuntu minimal installation
lubuntu-desktop             Lubuntu Desktop
lubuntu-gtk-core            Lubuntu minimal installation (GTK part)
lubuntu-gtk-desktop         Lubuntu Desktop (GTK part)
lubuntu-qt-core             Lubuntu minimal installation (Qt part)
lubuntu-qt-desktop          Lubuntu Qt Desktop (Qt part)
mail-server                 Mail server
postgresql-server           PostgreSQL database
print-server                Print server
samba-server                Samba file server
ubuntu-budgie-desktop       Ubuntu Budgie desktop
ubuntu-desktop              Ubuntu desktop
ubuntu-mate-core            Ubuntu MATE minimal
ubuntu-mate-desktop         Ubuntu MATE desktop
ubuntustudio-audio          Audio recording and editing suite
ubuntustudio-desktop        Ubuntu Studio desktop
ubuntustudio-desktop-core   Ubuntu Studio minimal DE installation
ubuntustudio-fonts          Large selection of font packages
ubuntustudio-graphics       2D/3D creation and editing suite
ubuntustudio-photography    Photograph touchup and editing suite
ubuntustudio-publishing     Publishing applications
ubuntustudio-video          Video creation and editing suite
vanilla-gnome-desktop       Vanilla GNOME desktop
xubuntu-core                Xubuntu minimal installation
xubuntu-desktop             Xubuntu desktop
openssh-server              OpenSSH server
server                      Basic Ubuntu server
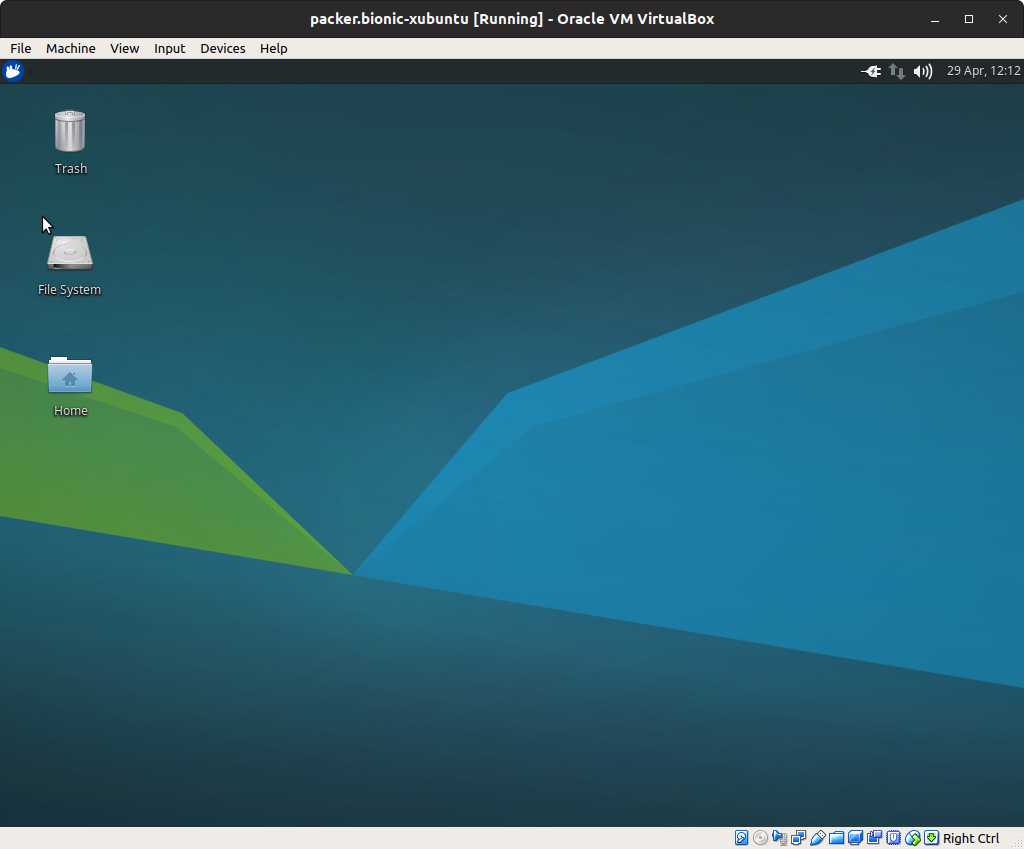
As you can see, there are numerous desktop choices. If you want to go minimalist, you might want to select something from the Lubuntu family. If you like eye candy, then something in the Kubuntu line might be for you. For me, I like the balance between the two extremes that Xubuntu brings. I don't need word processors or spreadsheets in my development environment, so I like to use xubuntu-core, which leaves the office software and games out.
Desktop Installation
Installation of a desktop can take quite a bit of time because numerous packages are involved. For that reason, I normally bake-in my desktop decision into the base machine we created on day 2. This reduces the time required to refresh an image at the expense of not being able to easily change my desktop selection.
The steps needed to install a desktop are very simple:
- fire up the base VM we created on day 2
- run
tasksel --listto see what tasks are avaiable - select one of the desktop tasks
- run
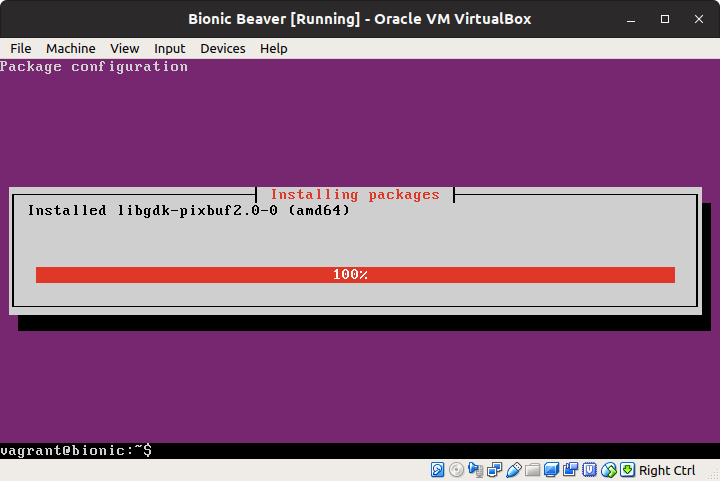
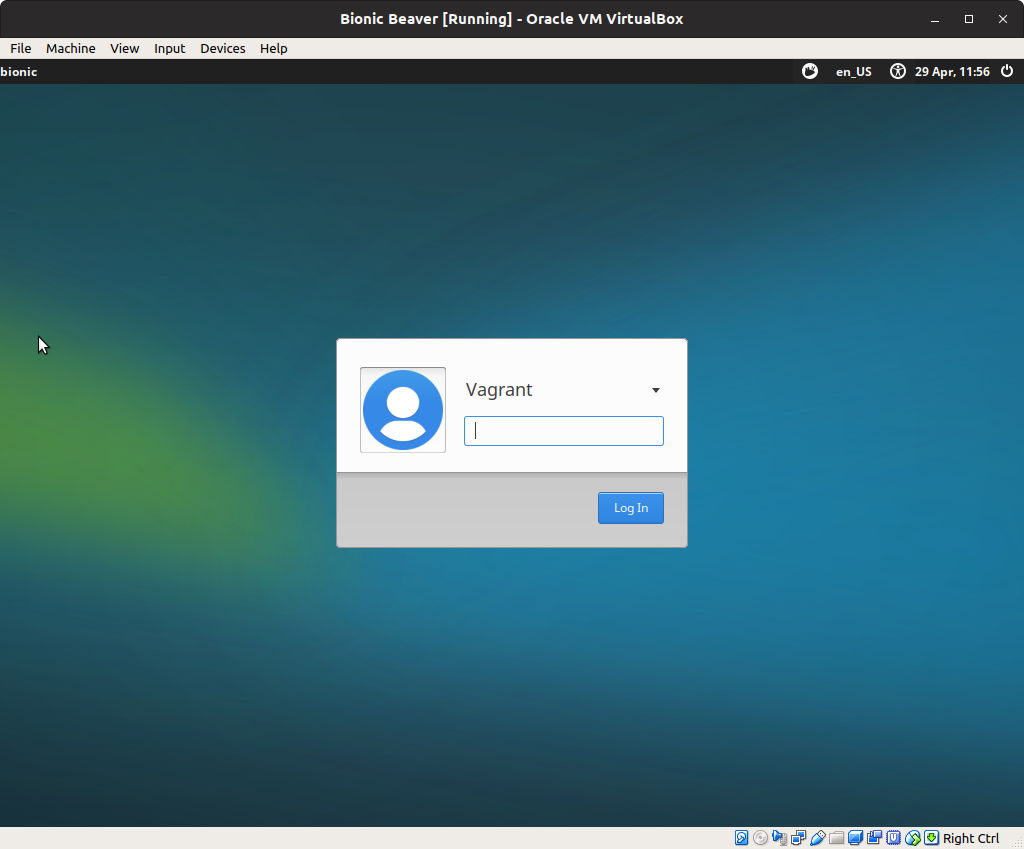
sudo tasksel install task-nameto install the desktop task. For examplesudo tasksel install xubuntu-core. - reboot the base VM, verifying the desktop got properlly installed
- shutdown the base VM
Build New Box
Now that we have a desktop installed in our base image, we need to export it as an appliance and have Pakcer build us a new box. As we did in Day 3, export the VM, replacing the old appliance with the new one. After that, it is just a matter of having Packer build the new box and then testing it.
- edit the
packer.json, removing thevagrant-cloudpost-processor. We don't want to push this version. packer validate packer.jsonpacker build --force packer.jsonvagrant box add --clean --force --name bionic-xubuntu vagrant/bionic-xubuntu.boxvagrant statusvagrant destroyvagrant up
Conclusion
We've learned how to install the desktop of our choice into our base VM, preparing us for next time where we will begin installing development tools.