Introduction
When building an Ubuntu VM, I like to install Ubuntu Server using the virtualized kernel. This gives us a little better performance and the freedom to install whatever desktop environment we want. The trade-off is that there is a manual step to the process that has to be revisted anytime we want to refresh the box.
Creating The VirtualBox Machine
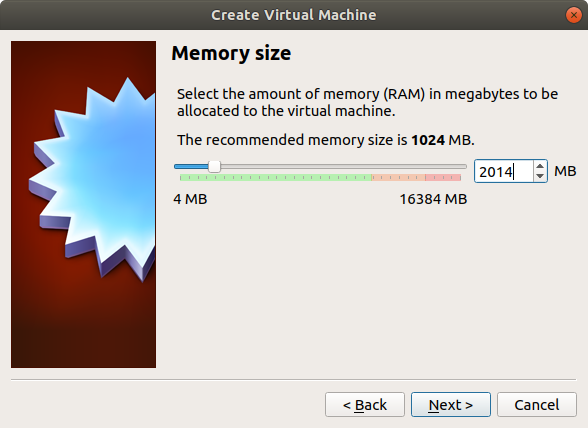
Assuming that you already have a working VirtualBox environment, the first thing we need to do is grab the Ubuntu Server ISO. Make sure to download the 64-bit version, otherwise you will run into some odd issues down the road. Besides, RAM is cheap and you'll want more than 4GB of memory to do your work.
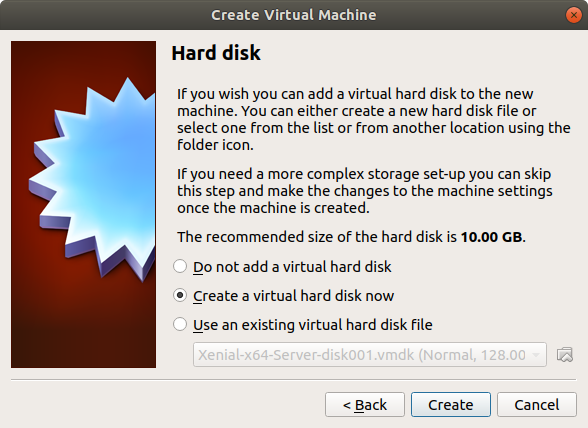
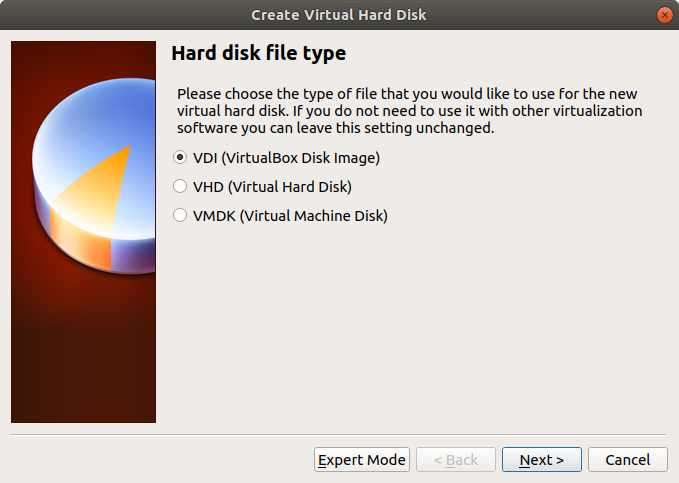
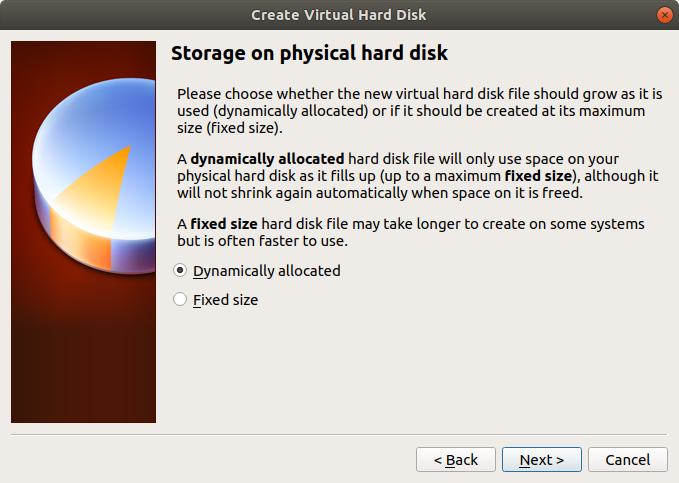
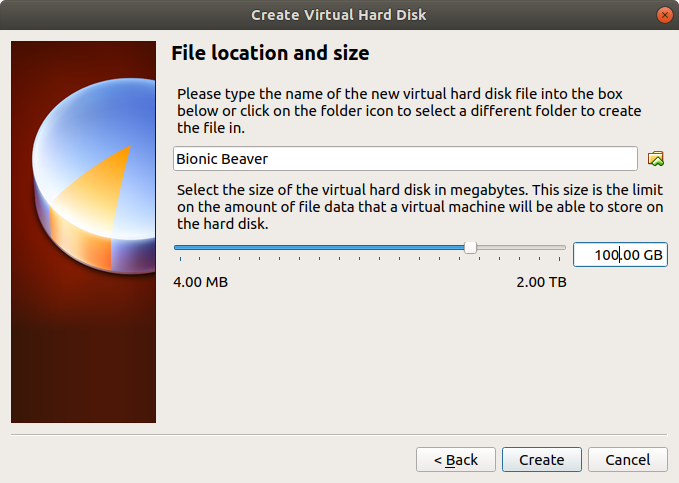
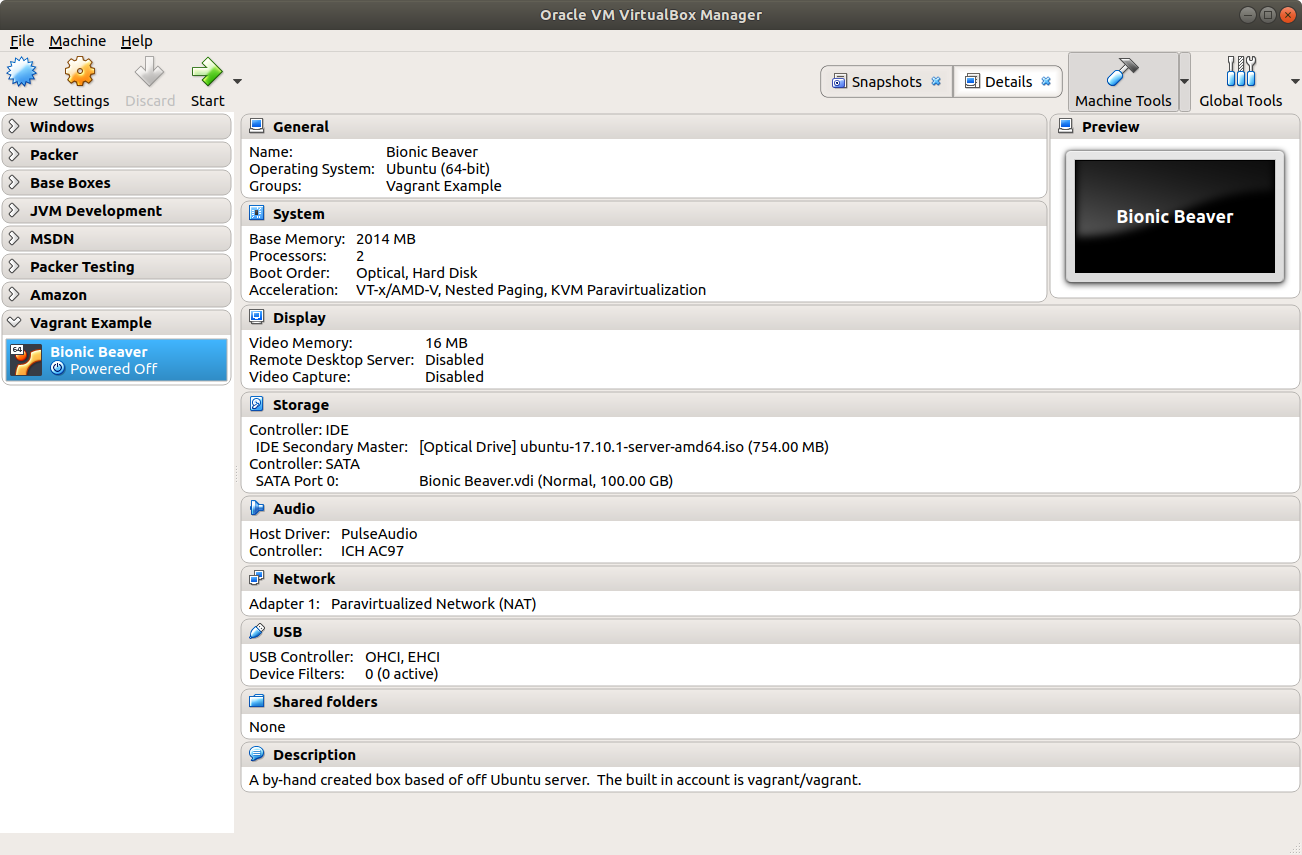
Once the ISO is downloaded, we need to create a new virtual machine in VirtualBox.
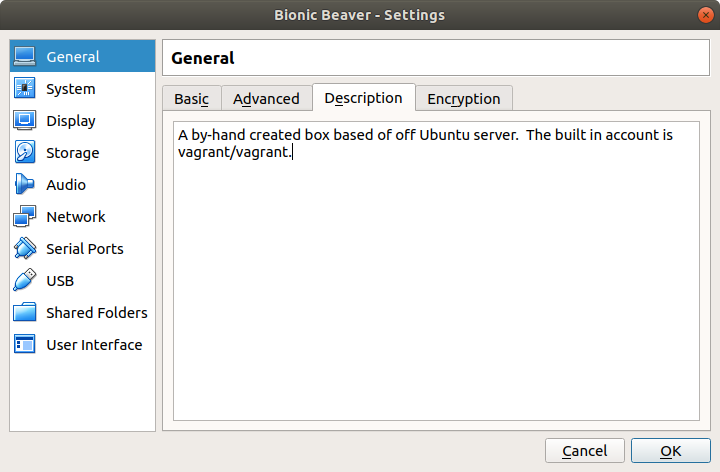
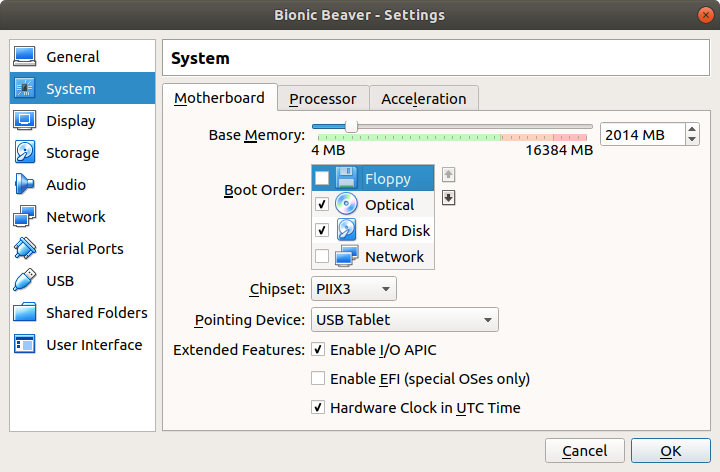
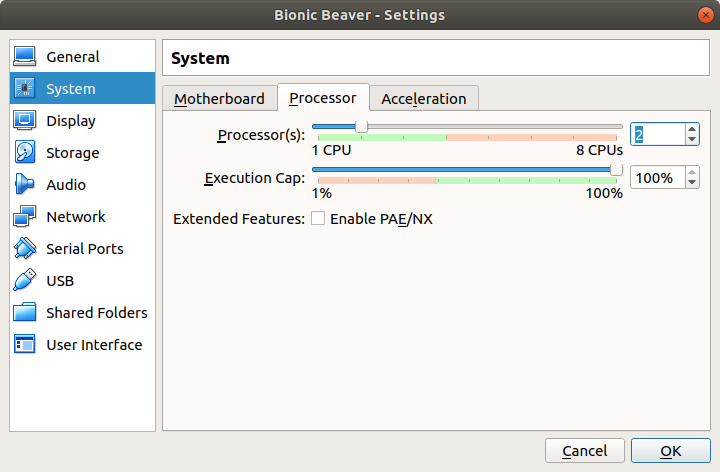
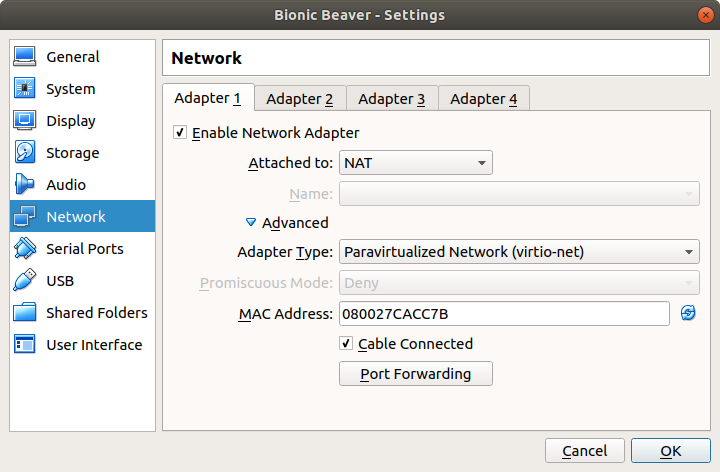
The first half of this step is to configure a new machine in VirtualBox. The most important element to this configuration is to use the paravirtualized network driver. Doing this improves network efficiency because much of the network stack can be bypassed, sending packets directly to the host's NIC


Running The Ubuntu Installer
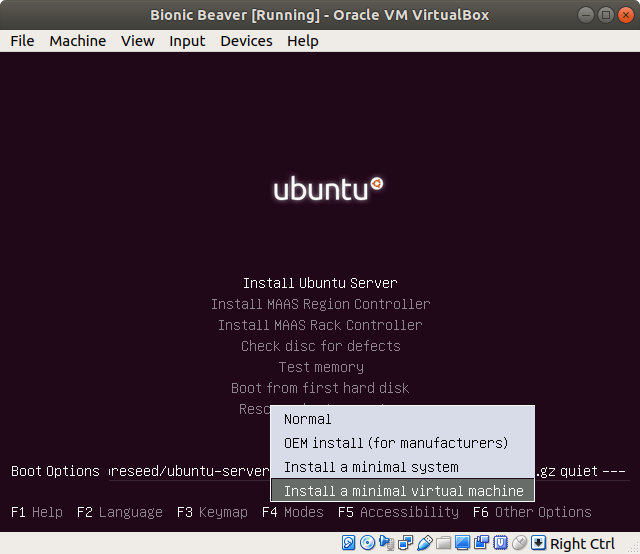
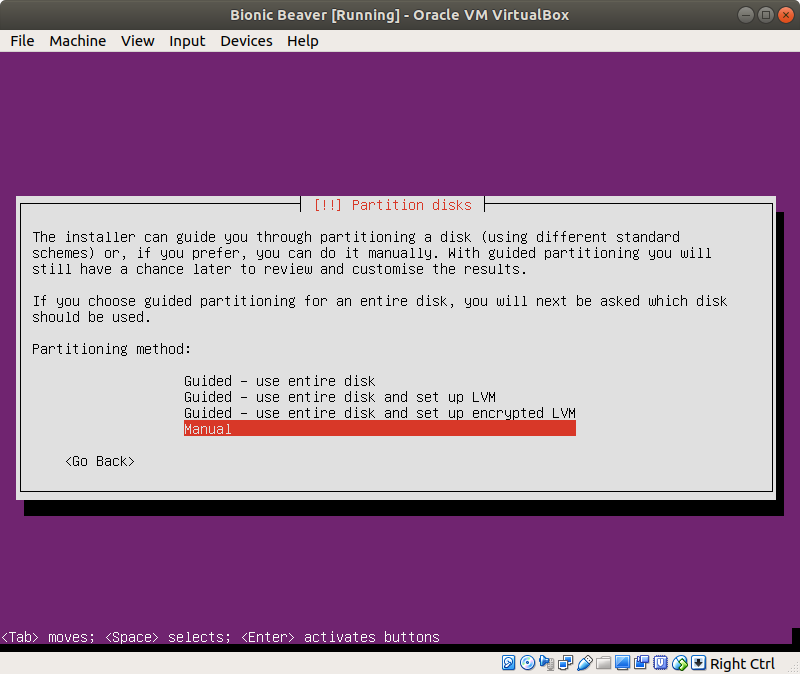
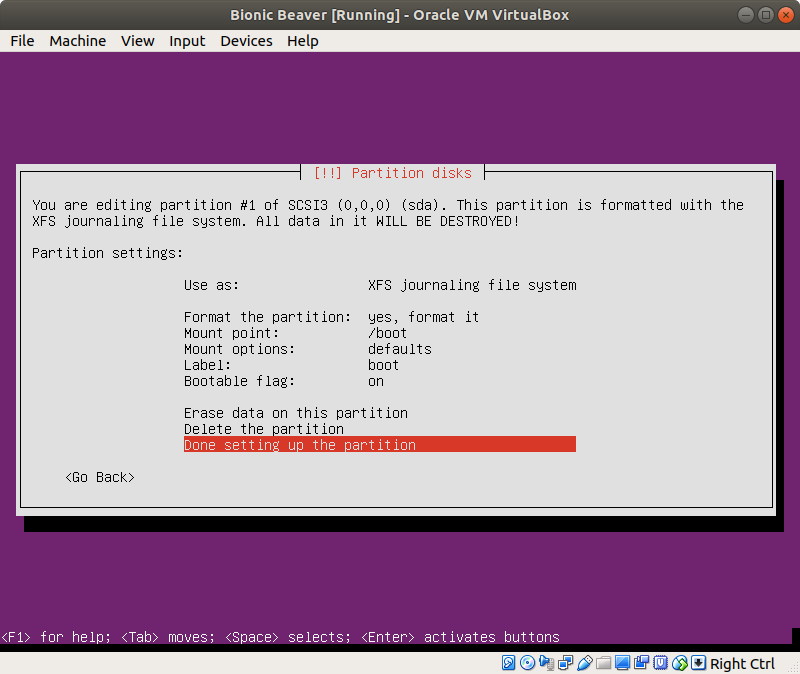
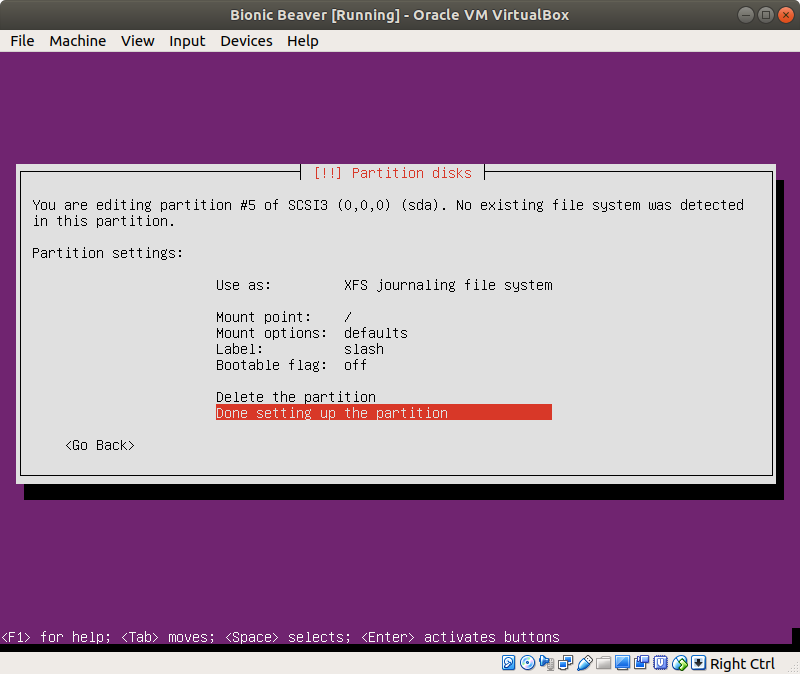
Now that we have the VM configured, the time has come to run the installer. The key concept to remember in this step is to let the installer know that we are installing into a virual environment. That will give us access to the virtualization aware kernel, providing a bit of a performance boost. I do a lot of work with Docker, which has a tendency to use up inodes, so I like to use XFS formatted drives. If you aren't a Docker developer, then the default ext4 should work just fine for you. I also like to create a boot partition separate from the OS partition.
The following steps also appear as screen captures below.
- Install the virtualization aware kernel
- Name the machine bionic
- Use Vagrant for the full name
- Use vagrant for the user name and vagrant for the password
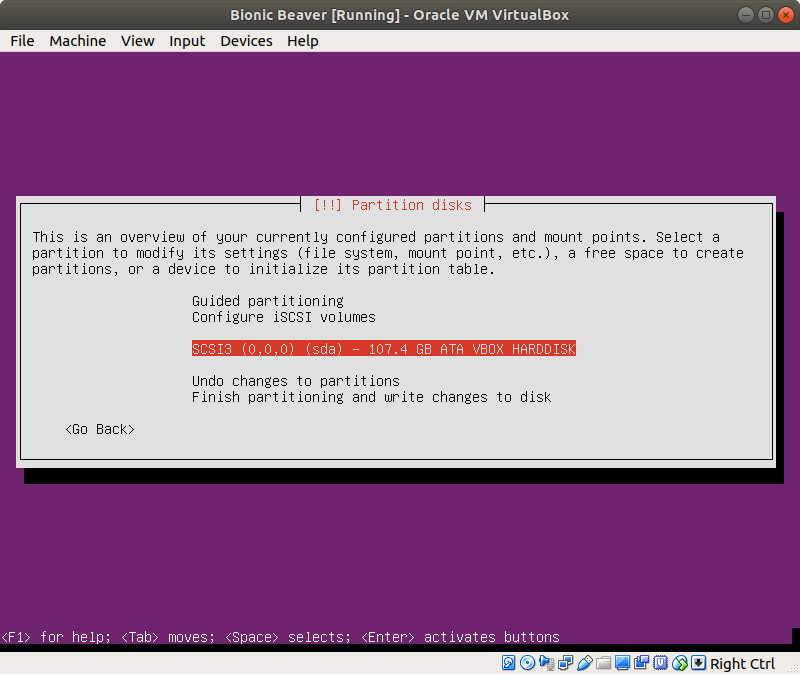
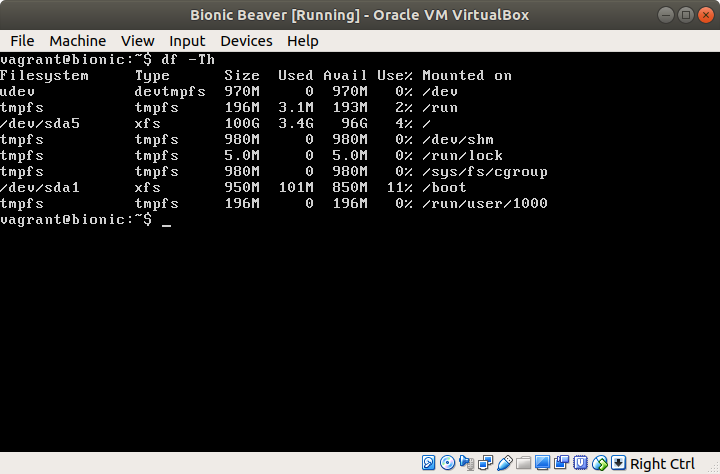
- Use manual partitioning to create 2 partitions
- Create a 1GB XFS boot partition
- Use the remaining space to create an XFS slash partition
- Do not enable automatic updates
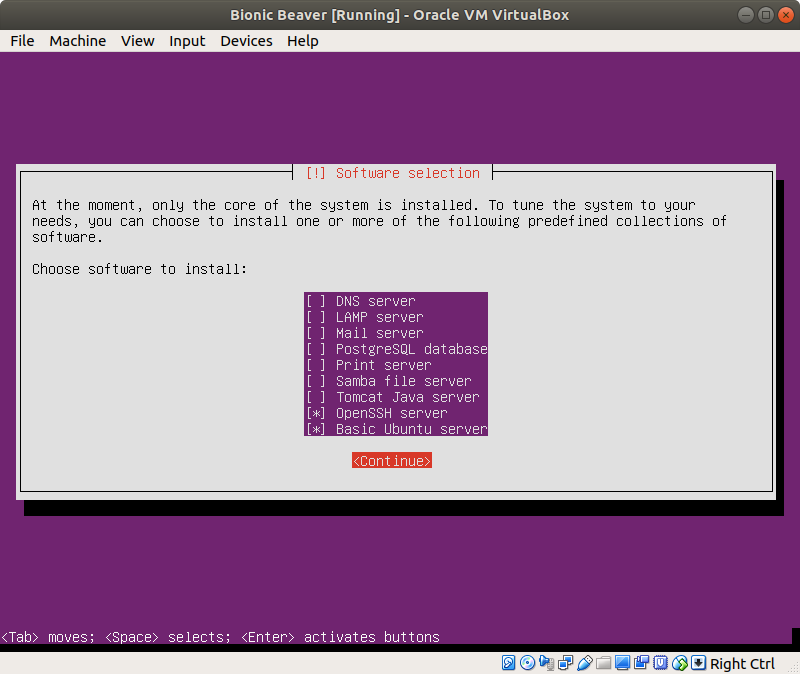
- Select OpenSSH Server and Basic Ubuntu Server for sofware packages
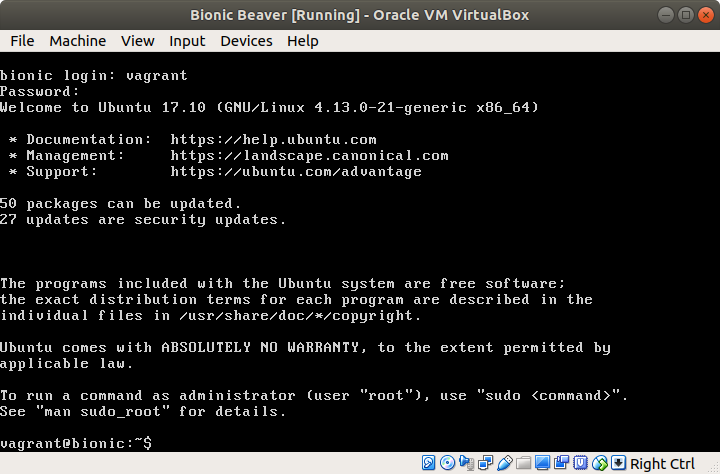
- Log in for the first time
- Run sudo apt-get update and sudo apt-get dist-upgrade to update the box
- Run sudo shutdown -r now to reboot the machine
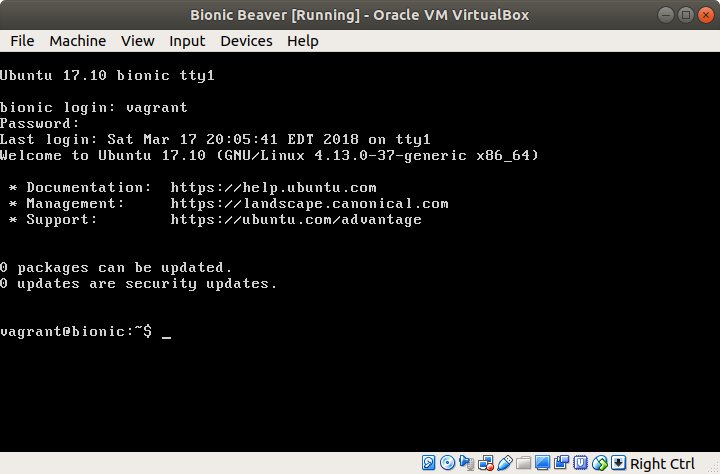
- Log back in and verify that no new package updates are available
- Shutdown the machine

Administrative Rights
In order to install software, modify configuration files and shutdown the machine, our user will need to temporarily elevate its privileges via the sudo command. Typically, the user has to enter in their password before sudo can be used. In an automated environment, like we are using here, this is a major inconvenience. There are several ways to elevate the user but I prefer to set up passwordless sudo. This is a security risk but since we're creating a disposable virtual machine for development, I'm okay making the trade off.
We need to add a file to the system, /etc/sudoers.d/passwordless, which gives users in the sudo or wheel groups the ability to elevate their privileges without entering a password. After adding the file, set its permissions to be read-only via chmod 0400 /etc/sudoers.d/passwordless
%sudo    ALL=(ALL)  NOPASSWD:ALL
%wheel   ALL=(ALL)  NOPASSWD:ALL
Defaults !requiretty
Conclusion
Now that we have a clean Ubuntu installation, we'll use it next time as a base for our Vagrant box.